https://thisisyoon.tistory.com/8
[티스토리] Poster 스킨 메뉴바에 프로필 넣기
티스토리 Poster 스킨 사이드 메뉴바에 프로필 넣는 법 티스토리 → 스킨편집 → HTML ctrl+f로 검색 아래 부분에 프로필 박스 넣는 코드 추가 [# #_desc_##] ## 사이 공백 제거 후 사용 #header 아래쪽에 프
thisisyoon.tistory.com
해당 블로그 글을 보고, 나도 사이드바가 가지고 싶어서 gpt와 함께 내 블로그에 맞게 조절했다.
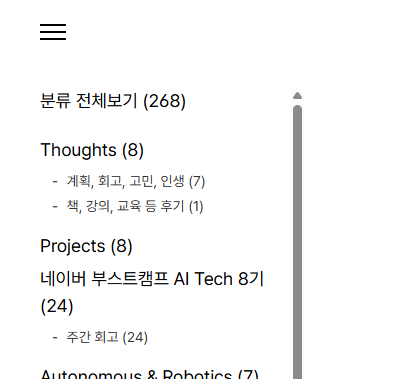
현재 내 사이드바는 위와 같다.
해당 블로그의 원 코드는 아래와 같다 (# # 사이 공백 제거)
<!-- 프로필수정 -->
<div class="box-profile <s_if_var_Profilebgimage>box-profile-invert</s_if_var_Profilebgimage>" style="background-image:url('<s_if_var_Profilebgimage>[# #_var_Profilebgimage_##]</s_if_var_Profilebgimage>');">
  <div class="inner-box">
  	<img src="[# #_image_##]" class="img-profile" alt="프로필사진">
  </div>
  <div class="text-profile">[# #_desc_##]
  </div>
</div>
(출처: https://thisisyoon.tistory.com/8)

이걸 아래에 이렇게 삽입하면,
자동으로 티스토리에서 변수가 적용되어 아래처럼 된다.
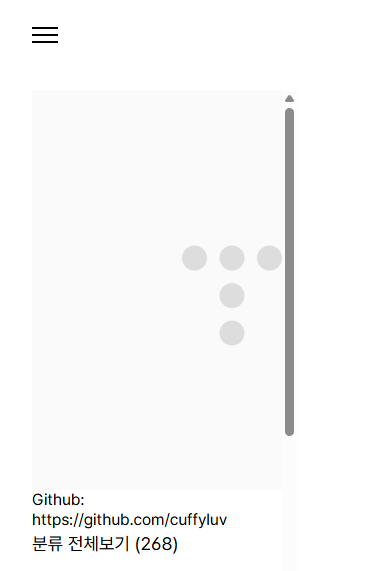
이제 css를 조절해 주자.
원본 블로그의 css는 아래와 같다.
/*프로필수정*/

#header .menu .box-profile {
position: relative; margin: 10px;
border-top: 2px solid rgb(123,63,0);
border-bottom: 2px solid rgb(123,63,0);
text-align: center;
background-color: rgba(255, 255, 255, 0.432);
}

#header .menu .box-profile .img-profile {
width: 140px;
height: 140px;
margin: 30px auto 15px;
border-radius: 140px;
}

#header .menu .box-profile .text-profile {
max-width: 210px;
font-size: 15px;
line-height: 1.54; color: rgb(123,63,0);
text-align: center; /* 텍스트 가운데 정렬 */
margin: 0 auto 15px;
}
(출처: https://thisisyoon.tistory.com/8)
이를 내가 이전에 수정했던 css에 맞게, 살짝 수정해서 맨 아래 css에 넣어주자.
/* 프로필수정 */
#header .menu .box-profile {
  position: relative;
  margin: 10px 0 28px 0;
  width: calc(100% - 40px);
  box-sizing: border-box;
  border-top: 2px solid rgb(123,63,0);
  border-bottom: 2px solid rgb(123,63,0);
  text-align: center;
  background-color: rgba(255, 255, 255, 0.432);
}

#header .menu .box-profile .img-profile {
  width: 120px;
  height: 120px;
  margin: 28px auto 15px;
  border-radius: 50%;
  object-fit: cover;
  display: block;
}

#header .menu .box-profile .text-profile {
  max-width: 210px;
  font-size: 15px;
  line-height: 1.54;
  color: rgb(123,63,0);
  text-align: center;
  margin: 0 auto 18px;
  word-break: keep-all;
}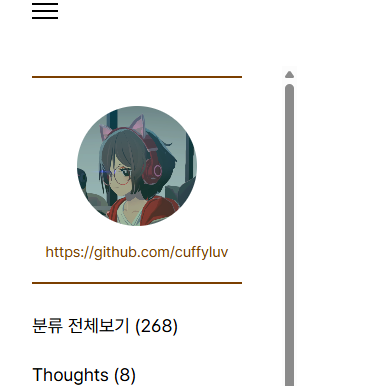
예쁘게 잘 적용된 모습. (오늘도 귀여운 네코미미 사토네쨩은 덤)
하지만 저러면 desc가 그대로 가면서 클릭이 안 된다.
직접 a tag를 사용해 주자.
<!-- 프로필 -->
<div class="box-profile <s_if_var_Profilebgimage>box-profile-invert</s_if_var_Profilebgimage>" style="background-image:url('<s_if_var_Profilebgimage></s_if_var_Profilebgimage>');">
  <div class="inner-box">
    <img src="https://tistory1.daumcdn.net/tistory/4965124/attach/30d90ffc48b5437a908b8256acb64216" class="img-profile" alt="프로필사진">
  </div>
  <div class="text-profile">
    미래의 AI 연구원을 꿈꾸는 소프트웨어학과 학부생<br>
    <a href="https://github.com/cuffyluv" target="_blank" rel="noopener noreferrer">
      Github
    </a>
  </div>
</div>
#header .menu .box-profile .text-profile a {
  color: rgb(123,63,0);
  text-decoration: none;
}

#header .menu .box-profile .text-profile a:hover {
  text-decoration: underline;
}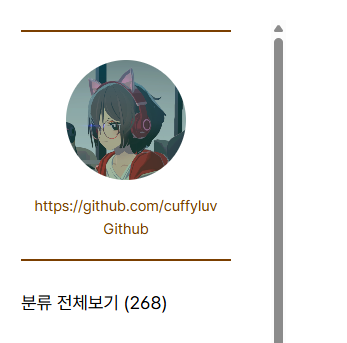
예쁘게 적용된 모습
Github는 하이퍼링크다.
이제 마지막으로 문구들만 좀 수정하자.

근데 이렇게 하니까, desc의 줄 바꿈이 적용이 안된다.
그냥 desc는 버리고, html에 직접 입력하기로 결정.
<nav id="gnb">
<!-- 프로필수정 -->
<div class="box-profile <s_if_var_Profilebgimage>box-profile-invert</s_if_var_Profilebgimage>" style="background-image:url('<s_if_var_Profilebgimage></s_if_var_Profilebgimage>');">
<div class="inner-box">
<img src="https://tistory1.daumcdn.net/tistory/4965124/attach/30d90ffc48b5437a908b8256acb64216" class="img-profile" alt="프로필사진">
</div>
<div class="text-profile">
Robotics / AI / Computer Vision<br>
Computer Science 3-2학기<br><br>
<Contact><br>
<a href="mailto:">Email</a><br>
<a href="https:" target="_blank" rel="noopener noreferrer">Github</a>
</div>
</div>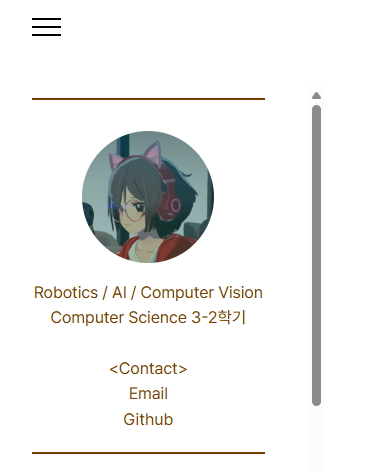
완성!
프사도 살짝 바꿔주자
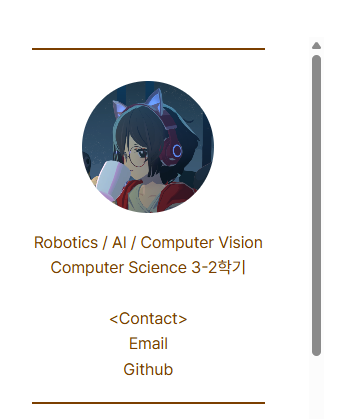
사토네가 더 예뻐졌다~~
'Others > 티스토리 스킨 뚜따 프로젝트' 카테고리의 다른 글
| #8 사이드바 너비 반응형으로 만들기 + 방문자수 넣기 (0) | 2026.07.02 |
|---|---|
| #5 노션처럼 티스토리에 인라인 수식을 넣어보자!!! (0) | 2025.04.02 |
| #4 bullet point(글머리 기호, 리스트)지만 인라인 코드를 넣고 싶어! (0) | 2025.03.17 |
| #3 인라인 코드 백틱(`) 적용 [티스토리 스킨 뚜따 프로젝트] (0) | 2024.09.12 |
| #2 본문 너비 넓히기 [티스토리 스킨 뚜따 프로젝트] (0) | 2024.08.27 |


